How to Connect Canon TR4720 to Wi-Fi and Mobile Devices?
For home offices and daily printing requirements, the Canon PIXMA TR4720 is a small all-in-one printer. Both PCs and mobile devices may benefit from its wireless printing, scanning, copying, and faxing capabilities. The initial wifi connection process, however, is bewildering to a lot of consumers. This tutorial will take you step-by-step through the Canon TR4720 Setup and show how to seamlessly connect it to mobile devices and Wi-Fi.
On this page
Table of Contents
On this page
Table of Contents
Things to Get Ready Before Canon TR4720 Setup
Make sure you have the following available before beginning the Canon printer setup:
- A reliable password and Wi-Fi network
- A smartphone or computer
- The printer, a Canon TR4720, turned on.
- Paper is loaded and ink cartridges are fitted.
You may start the wifi connection as soon as everything is prepared.
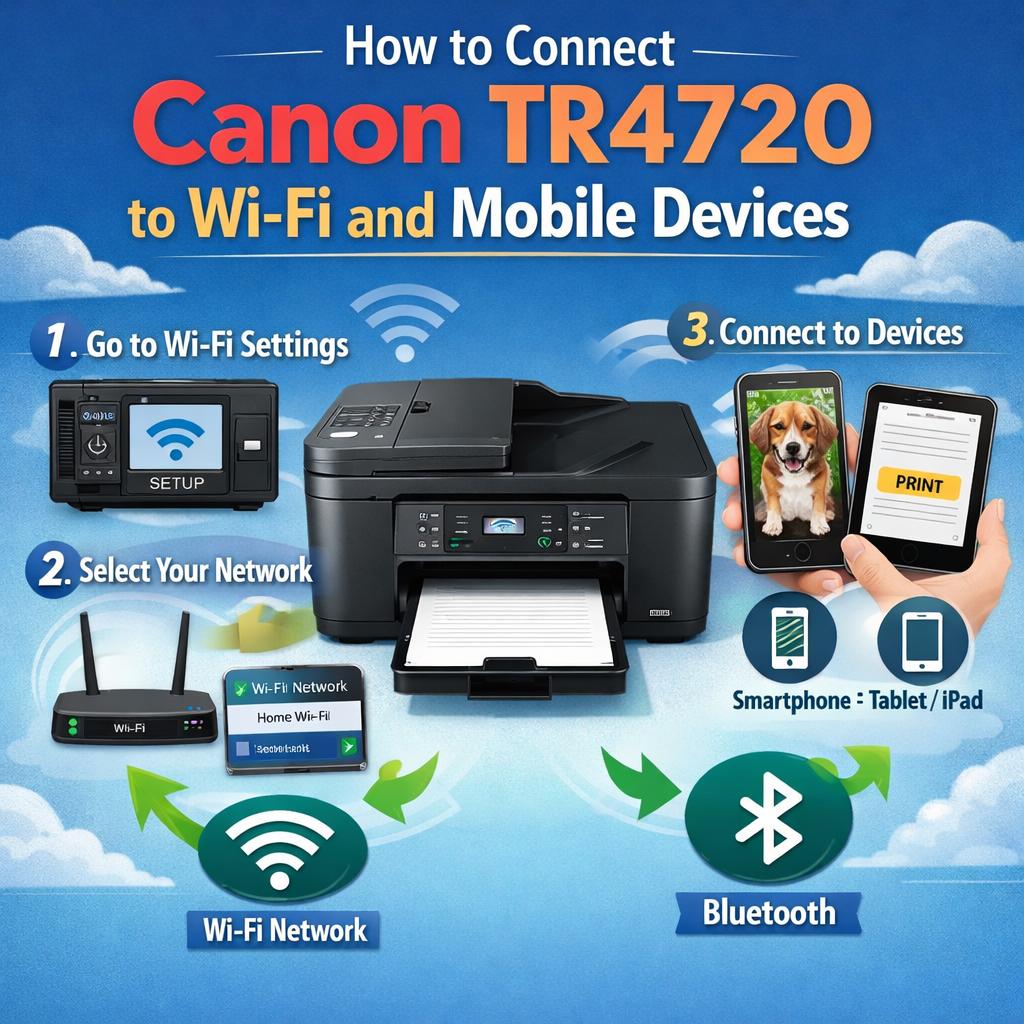
How to Use WiFi with a Canon TR4720?
Since the canon tr4720 setup lacks a touchscreen, buttons and Canon software are used to set up Wi-Fi.
- Turn on the printer’s wireless mode.
- Activate the printer.
- Holding down the printer’s Wi-Fi button will cause the alert light to flash.
- After pressing the Black button, push the Wi-Fi button one more time.
- The printer is prepared for wireless setup when the blue Wi-Fi light begins to flash.
- Set up the Canon printer program
- Go to the official Canon support website on your PC.
- Look for the Canon TR4720 setup and get the suggested software and driver.
- When asked, launch the installation and choose Wireless LAN Connection.
- To connect the printer to your Wi-Fi network, trail the commands.
Your Canon TR4720 should successfully connect to your wireless network when the installation is finished.
Canon Printer Configuration for Mac and Windows
Both operating systems require a similar setup procedure:
- If the printer is not identified, Windows users should make sure their system satisfies the minimal requirements and temporarily disable firewall software.
- During installation, Mac users could be asked to provide rights for Canon software.
- To validate that the printer is operating correctly subsequent installation, run a test print.
How to Link Mobile Devices to the Canon TR4720?
You may print documents and images straight from your tablet or smartphone using mobile printing.
- Using the SELPHY/Canon PRINT Inkjet App
- Get the Canon PRINT Inkjet/SELPHY app from the Apple App Store or Google Play Store.
- Authenticate that the printer and your mobile device are linked to the same Wi-Fi network.
- Launch the application and select Add Printer.
- From the list, choose the Canon TR4720 and proceed as directed.
- You can print, scan, and copy directly from your mobile device once it’s connected.
Using AirPrint to Print (iOS Users)
- AirPrint may be utilized by Apple users without the need to install additional drivers:
- Open the picture or document.
- Press Print.
- Choose the Canon TR4720.
- Modify the parameters and print
Mopria Printing (Android Users)
- To print wirelessly, Android users can activate Mopria Print Service in their device settings.
Resolving Problems with Wi-Fi Connections
Try these fixes if you run into problems setting up your Canon printer:
- Restart the router and printer.
- Authenticate your WiFi keyword again.
- The printer should be kept near the router.
Comments
0 comments
No comments yet. Be the first to comment.
Related Articles
Mar 2, 2026
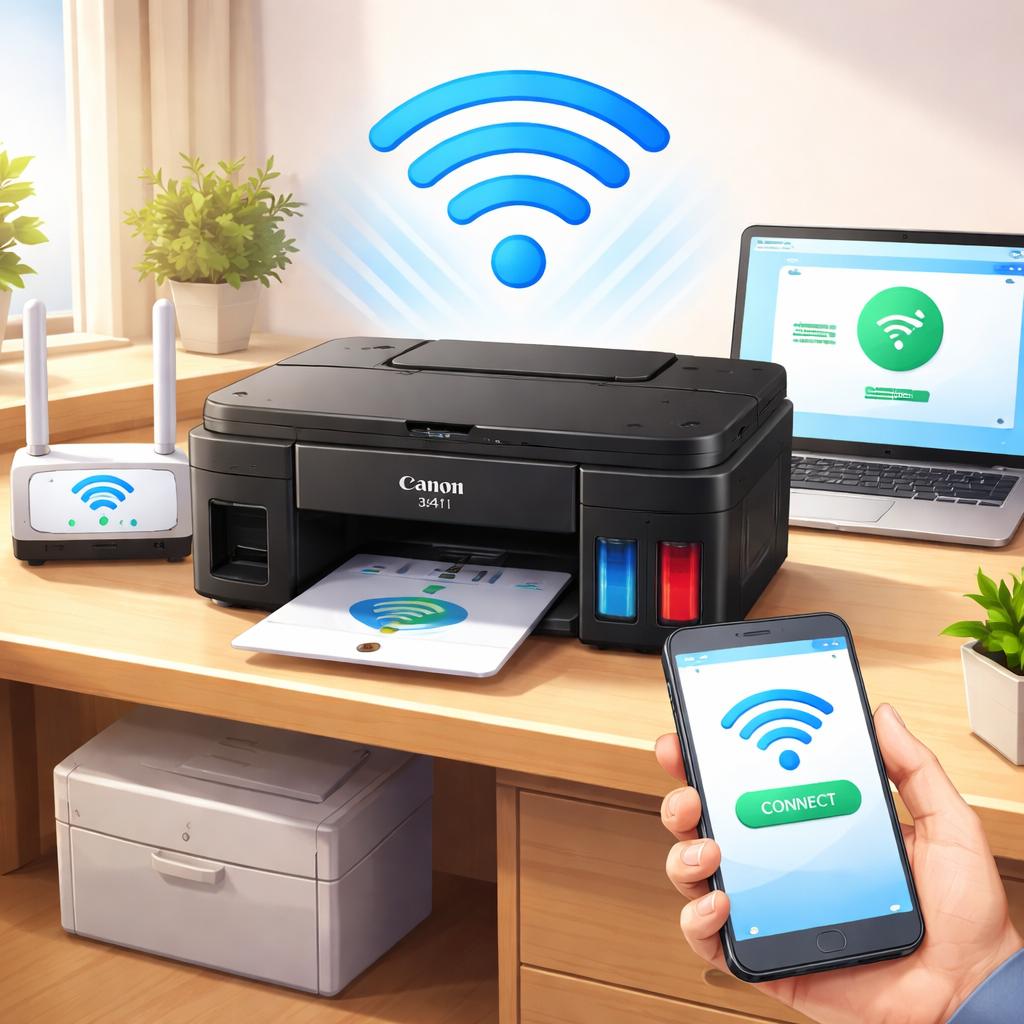
How to Connect Canon G3411 to WiFi Network Easily?
It doesn’t have to be difficult to get your printer online. You can connect the Canon G3411 to WiFi in a few easy steps if you recently purchased it or reset it. This simple instruction will help you set up the Canon G3411 without any confusion. Now that your Canon G3411 setup is complete, you […]

Feb 11, 2026
How ShortVids Is Helping Brands Maximize Their Digital Presence Through Smart Content Strategies
In the modern digital ecosystem, creating content is only half the battle. The real challenge lies in making sure that every piece of content you produce works harder and reaches as many people as possible across multiple platforms. This is exactly where ShortVids steps in as a trusted partner for brands and creators worldwide. Their […]