Blink Camera Setup Guide for Indoor and Outdoor Cameras

Because of its wireless design, extended battery life, and simple installation, blink cameras are a popular option for home security. The proper Blink Camera Setup procedure guarantees dependable monitoring and seamless operation whether you are putting a camera indoors or outside. This tutorial will explain the Blinkforhome Setup, bring you through the setup process for both indoor and outdoor Blink cameras, and assist you in understanding problems like blink camera blinking red.
On this page
Table of Contents
On this page
Table of Contents
What You’ll Need Before Blink Camera Setup
Make sure you have the following supplies handy before starting the Blink Camera Setup:
- An appropriate Blink camera (Outdoor, Indoor, or Outdoor 4)
- A Blink Sync Module (Sync Module 1 or 2)
- The majority of cameras come with two AA lithium batteries.
- A tablet or smartphone
- Wi-Fi connection stability (2.4 GHz)
- Your device’s installed Blink Home Monitor app
- You can start the setup as soon as these necessities are prepared.
Detailed Instructions for Blink Camera Setup
- Set up the Blink Home Monitor application.
Get the Blink Home Monitor app. Launch the app, then use your Amazon account to log in. To finish the Blinkforhome Setup, this account is necessary. - Include the Sync Module
Your Blink cameras are connected to your Wi-Fi network via the Sync Module, which serves as a hub.
- Connect the Sync Module to a power source.
- Launch the application and select Add Device.
- After choosing Sync Module, scan QR code on back.
- Attach the module to the Wi-Fi network at home.
The module’s blue and green lights should remain steady after connection, indicating a successful pairing.
- Include Your Blink Camera
You may add your camera once the Sync Module is configured:
- Put the Blink camera’s batteries in.
- Choose Blink Camera by tapping Add Device in the app.
- Inside the battery compartment, scan QR code.
- Assign your Sync Module to the camera.
- The camera will connect and show up on your app dashboard in a matter of minutes.
Comments
0 comments
No comments yet. Be the first to comment.
Related Articles
Feb 9, 2026
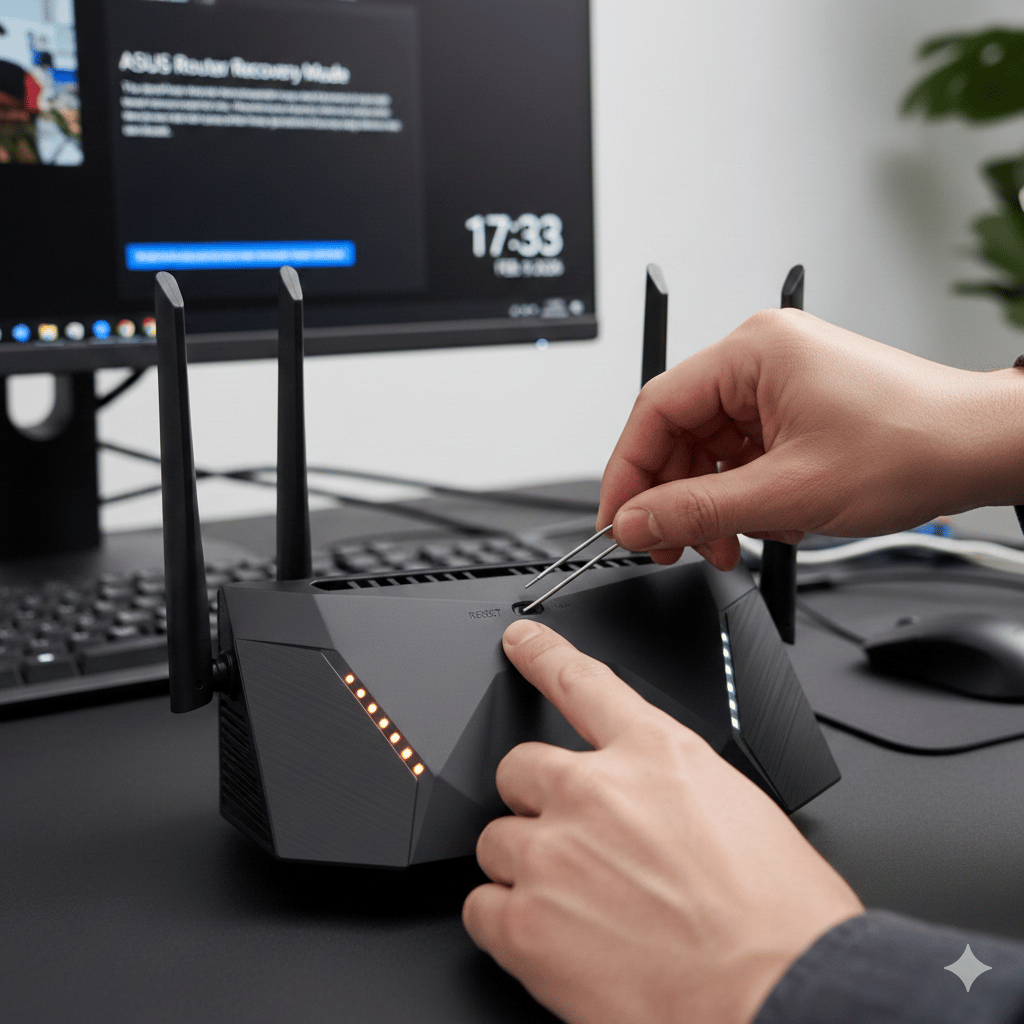
How To Reset The Asus Router?
Resetting your Asus router may frequently fix issues including inconsistent internet connections, lost Wi-Fi passwords, and unexpected router behavior. Understanding how to properly reset Asus router is crucial, whether you’re troubleshooting network problems or getting the router ready for resale. Everything you need to know about resetting an Asus router will be covered in this […]
Jan 7, 2026
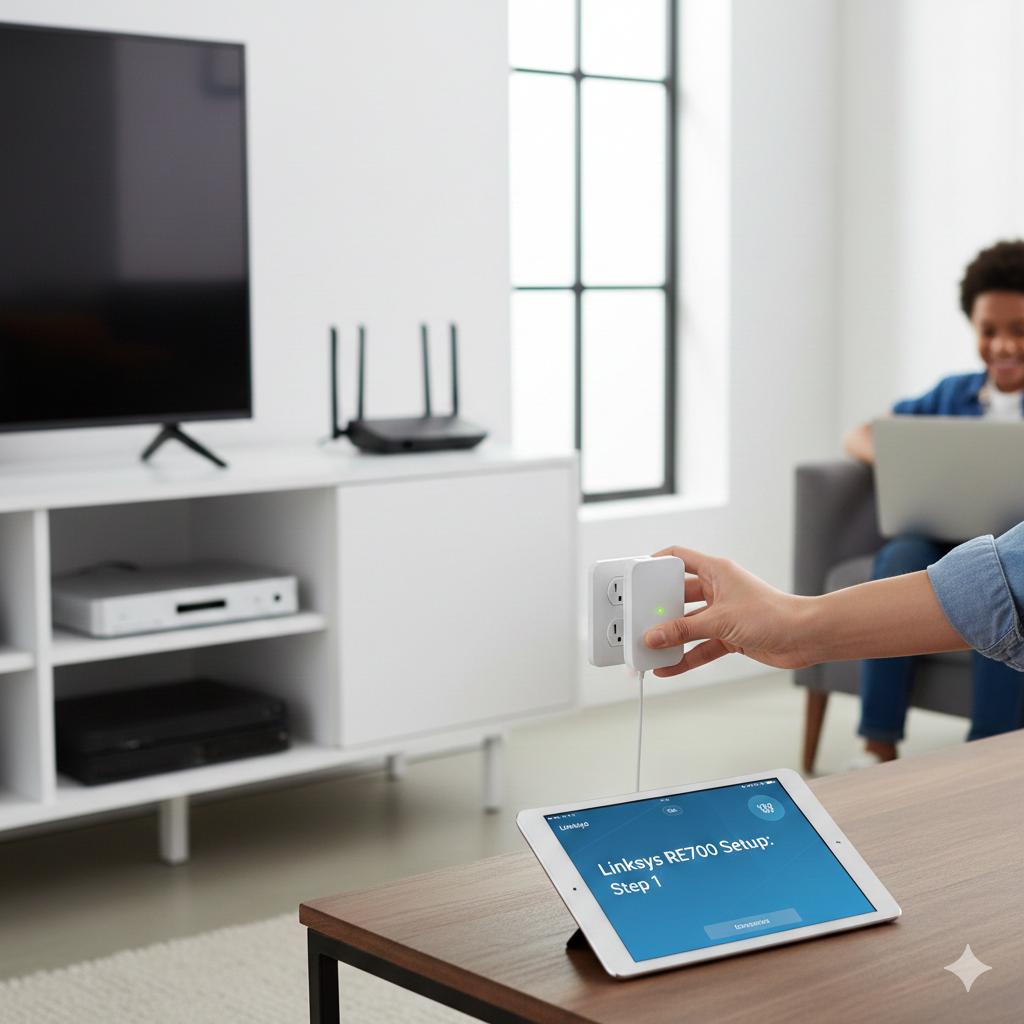
How to Factory Reset and Re-configure Your Linksys RE7000 Extender?
The Linksys RE7000 AC1900 WiFi Range Extender is a potent gadget that may increase wifi coverage in your house or place of business by removing dead zones. However, the extender may occasionally cease functioning correctly as a result of firmware problems, network modifications, or wrong settings. In these situations, most issues can be fixed by […]