How to Factory Reset and Re-configure Your Linksys RE7000 Extender?
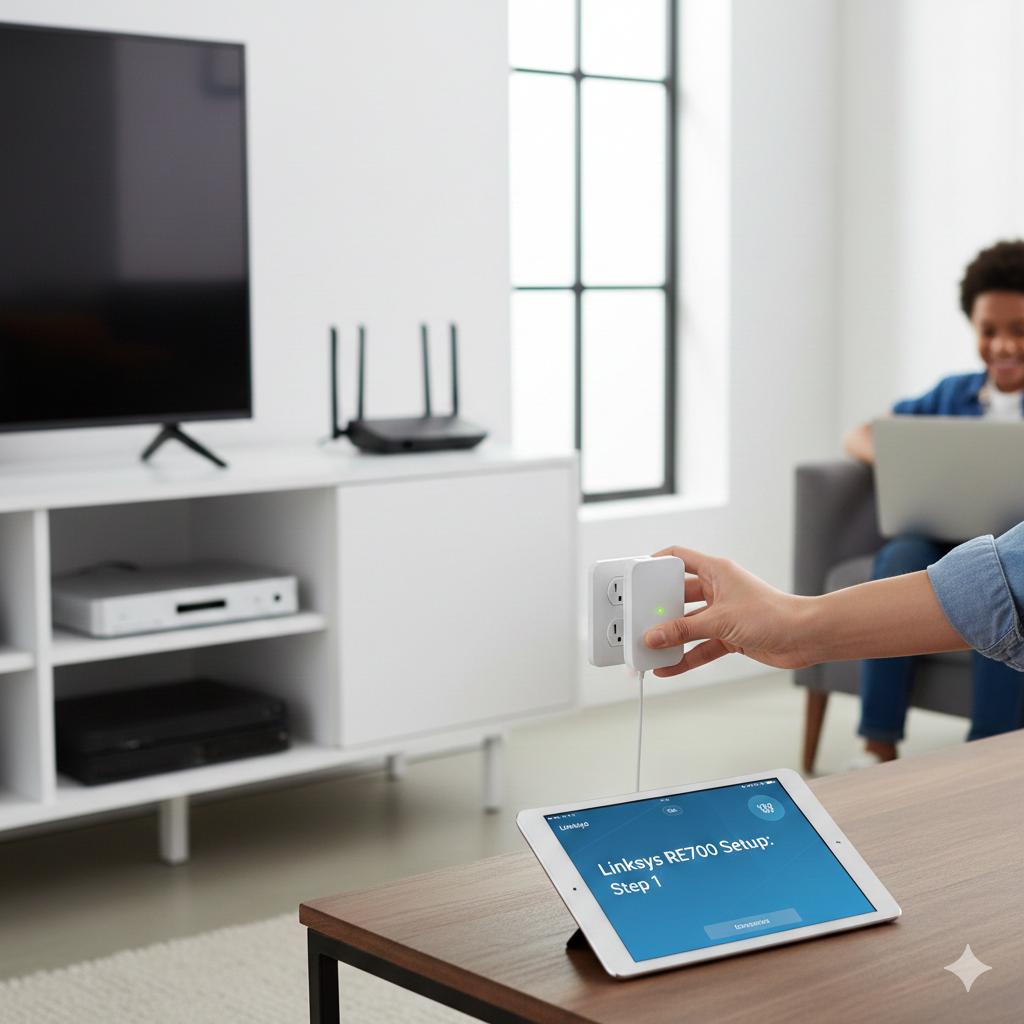
The Linksys RE7000 AC1900 WiFi Range Extender is a potent gadget that may increase wifi coverage in your house or place of business by removing dead zones. However, the extender may occasionally cease functioning correctly as a result of firmware problems, network modifications, or wrong settings. In these situations, most issues can be fixed by doing a factory reset and reconfiguring it. Step-by-step instructions for factory resetting and Linksys RE7000 Setup are provided in this article.
On this page
Table of Contents
On this page
Table of Contents
When Is It Time to Reset Linksys RE7000?
Your extender might need to be reset if:
- Your WiFi or router password has changed.
- The extender keeps disconnecting.
- The extender dashboard is not accessible.
- You wish to start over and tweak it.
- You can’t remember your login information.
A factory reset allows for a new Linksys RE7000 setup by erasing any custom settings and returning the device to its original condition.
How to Factory Reset the Linksys RE7000 Extender
To reset the Linksys Re7000 and restore factory settings, carefully follow these steps:
Turn the Extender on
- Make sure your Linksys RE7000 is turned on before plugging it into a power outlet. Hold off until the power LED solidifies.
Find the Reset Knob
- There is a tiny reset hole marked “Reset” on the side or bottom of the extender.
Hold down the Reset knob.
- Press and hold the reset knob for ten to fifteen seconds using a paper clip or pin.
Let Go and Wait
- When the LED begins to blink, let go of the knob. The extender will restart on its own. It might take several minutes to complete this operation.
- Your extender will revert to factory default settings when the reset is ended, making it suitable for reconfiguration.
How to Set Up Your Linksys RE7000 Extender Again
To connect the Linksys extender to your WiFi network once it has been reset, you must repeat the setup process.
Method 1: Web browser setup (recommended)
Link Your Device
- Attach your PC or smartphone to the Linksys_Extender_Setup default WiFi network of the extender.
Launch a web browser
- Open browser and enter extender.linksys.com.
Launch the Setup Wizard
- After selecting “Start Setup,” adhere to the on-screen directions.
Choose Your WiFi Network
- Enter the WiFi password after selecting the WiFi network associated with your primary router from the list.
Finish the setup
- Wait for the confirmation message after connecting. The Linksys RE7000 extender has been set up.
Method 2: linksys extender setup WPS (Optional)
If WPS is supported by your router:
- On your router, press the WPS knob.
- Press the Linksys RE7000 extender’s WPS knob within two minutes.
- An efficacious connection will be shown by the LED turning solid.
Top Placement Advice for Maximum Efficiency
- Position the extender midway between locations with poor signal strength and your router.
- Keep it away from metal items, thick walls, and electronics.
- Make sure the signal LED is strong enough.
- Proper placement ensures stable connectivity and better speed after Linksys RE7000 Setup.
Typical Problems Following Reset and How to Resolve Them
- Extender.linksys.com cannot be accessed: Make sure your gadget is linked to the WiFi network of the extender.
- Slow speed internet: If your internet speed is slow, move the extender nearer to the router.
- Problems logging in: Try using dissimilar browser or removing the cache in your existing one.
Concluding Remarks
Comments
0 comments
No comments yet. Be the first to comment.
Related Articles
Feb 9, 2026
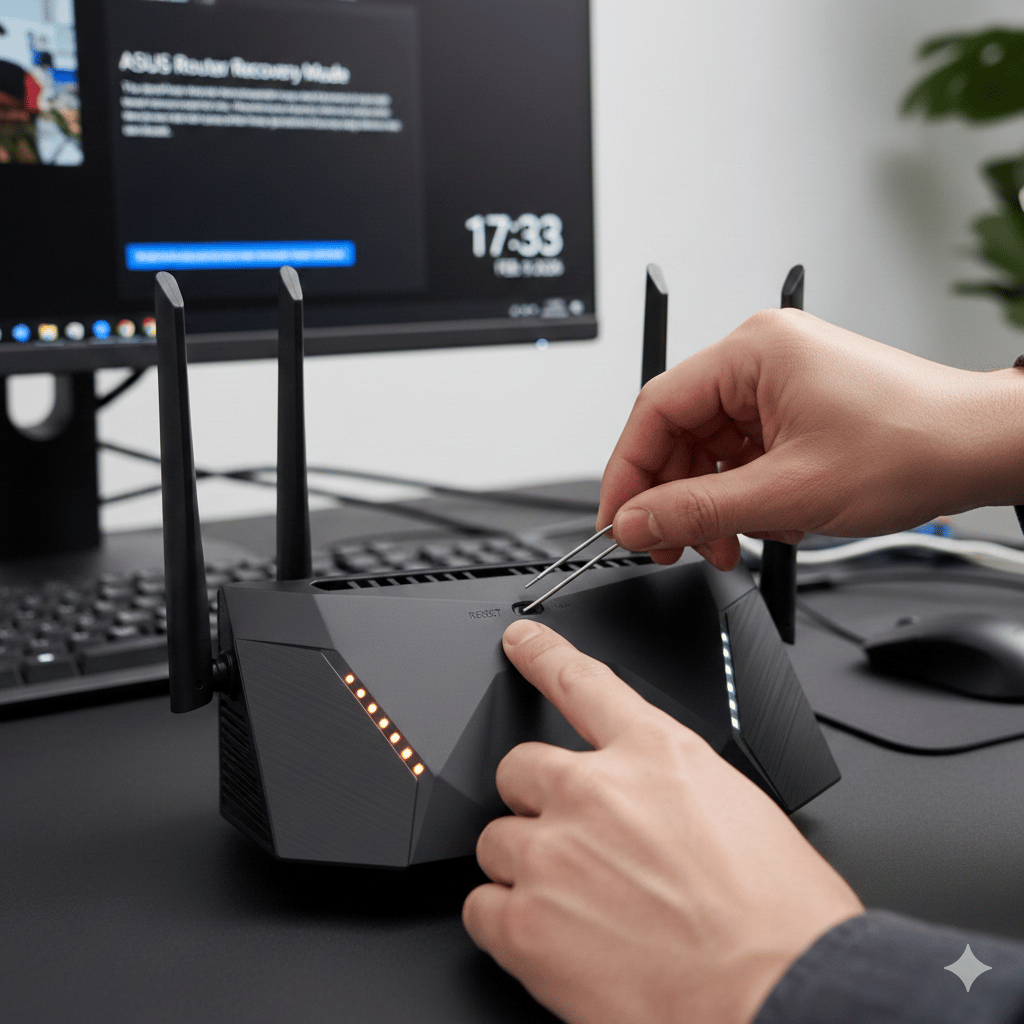
How To Reset The Asus Router?
Resetting your Asus router may frequently fix issues including inconsistent internet connections, lost Wi-Fi passwords, and unexpected router behavior. Understanding how to properly reset Asus router is crucial, whether you’re troubleshooting network problems or getting the router ready for resale. Everything you need to know about resetting an Asus router will be covered in this […]
Jan 2, 2026
Reliable Battery Replacement Services In Canada | Infinite Tech Repair
Reliable Battery Replacement Services In Canada When your device starts losing power quickly or struggles to charge properly, it might be time for a professional battery replacement. At Infinite Tech Repair, we provide dependable services for laptops phones and tablets to ensure your devices stay functional throughout the day. Located in Canada near popular areas […]