Netgear N300 Setup Guide: Listing Two Setup Methods
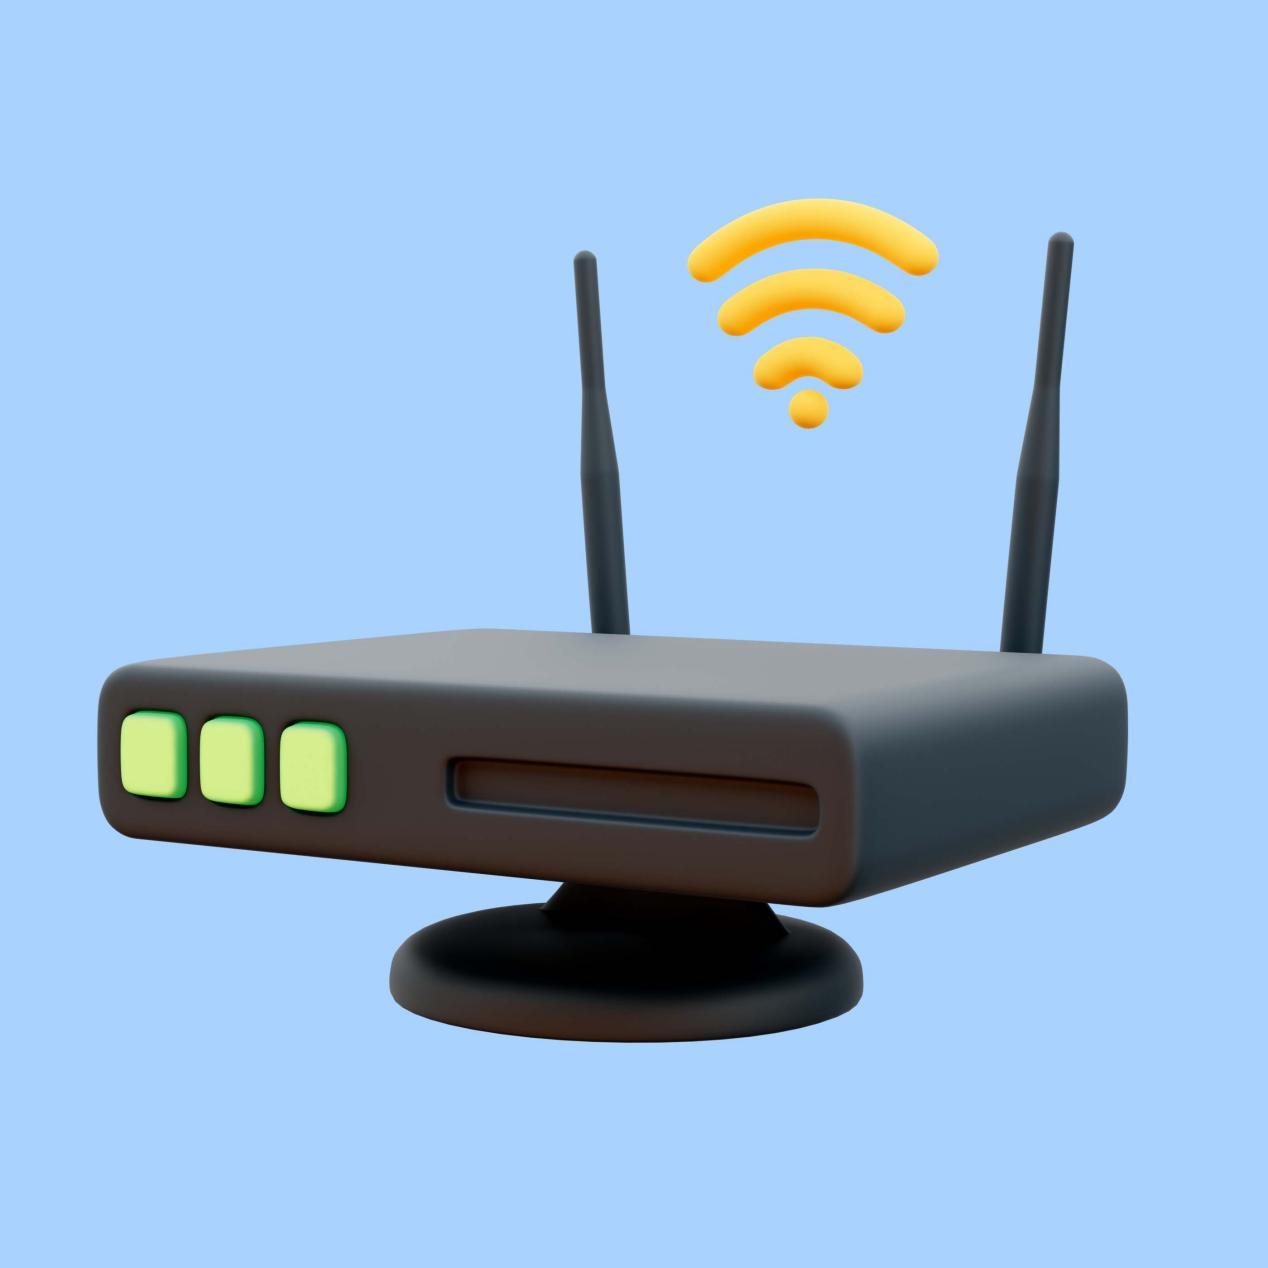
Netgear is a popular networking brand and thus its wifi range extenders are commonly found in every other home and office space. One such popular series is N300. The N300 wifi range extender comes in a simple wall plug design and features two external antennas. The smart LED indicators help with the Netgear N300 setup. The installation is made super easy with the help of the WPS button. So basically just with a push of a button you get to eliminate all the wifi dead zones and other wifi connectivity issues from your space. The extender further inhibits an Ethernet port. So whenever you need direct, stable and reliable connectivity you can easily pair up your device to the extender.
On this page
Table of Contents
On this page
Table of Contents
So do you wish to unlock all these features of N300? If yes, then this guide can lend you a helping hand. The guide covers not one but two different Netgear N300 setup methods. So as per your requirements you can select one and follow the same.
Easy WPS Method
For unlocking N300 wifi range extender, you can use the simple, quick and easy wifi protected setup (WPS) method. The steps for it are as follows:
- As you unbox the extender, bring it to the same area where you have placed the router.
- Thereafter plug the extender into an electrical wall socket. Push the power button and let the extender activate. Initially the extender’s power LED will show up orange light but eventually after a couple of seconds the light will turn green. This is your indication to move ahead to the next Netgear N300 setup step.
- Now the next step is to locate and press the WPS button on the router. As you do so within 2 minutes, you have to locate and push the N300’s WPS button as well.
- You will notice that the WPS indicators of both the gadgets have started to blink. This means the synchronisation is under progress.
- The Netgear N300 setup completes successfully once the WPS indicators stops fluttering and turns stable green.
- At last, you just have to relocate the N300 extender. So you must deploy it at a place where your router’s signal drops to 50 percent. Make sure this spot is open and well ventilated and is able to cover the wifi dead spot. Once you repower the extender, just check the LED indicators. Each one of them must show a solid green light. Because it indicates proper connection to the router, to your devices and with the power socket as well.
Detailed Web Browser Method
Sometimes the router doesn’t support the WPS Netgear N300 setup method or sometimes the users wish to have more control on the device and its settings. So if you are also one amongst those, then the web browser based setup method is the perfect option. The steps for it are as follows:
✓ Power On
First of all plug the N300 range extender in the middle of the router and the wifi dead spot. Then power it on. Let the power indicator turn green.
✓ Join The N300 Network
Up next take a smart device like laptop, smartphone, iPad. Go to its wifi settings. Enable the wifi. Now the list of nearby networks will open up. From this list click on the “Netgear_EXT” and then hit Connect.
You have an alternative as well for building a connection between the smart device and the N300. It is using an Ethernet wire.
✓ Login
This is the crucial step for Netgear N300 setup. So on your networked gadget open up the internet browser. It can be any up-to-date browser like chrome, firefox, safari, edge or internet explorer for that matter. As you launch the browser go to the address field. Into this field type mywifiext.net and hit enter. This will open up the setup page.
✓ Pair Up With The Router
Finally tap on the Start New Setup option. Up next select the repeater mode. Now the interface will start searching for the nearby active networks. Now make sure your router is active and working well. So as the list appears, from this list select the router’s identity. Then fill in the password of that particular network and hit on Connect. Finally the router and N300 extender will sync together.
At last, all you have to do is pair your device to the new extended network and test the connectivity by moving to the area that was previously labelled as wifi dead zone. If the connectivity is top notch, then congratulations you have finished the Netgear N300 setup process appropriately. If the connectivity isn’t proper then you must rectify the extender’s placement. Either bring it a little closer to the wifi dead spot or to the router. The aim is to see green light on the N300.
For other queries and assistance, feel free to connect to the experts.
Comments
0 comments
No comments yet. Be the first to comment.
Related Articles
Feb 9, 2026
How To Reset The Asus Router?
Resetting your Asus router may frequently fix issues including inconsistent internet connections, lost Wi-Fi passwords, and unexpected router behavior. Understanding how to properly reset Asus router is crucial, whether you’re troubleshooting network problems or getting the router ready for resale. Everything you need to know about resetting an Asus router will be covered in this […]
Jan 7, 2026
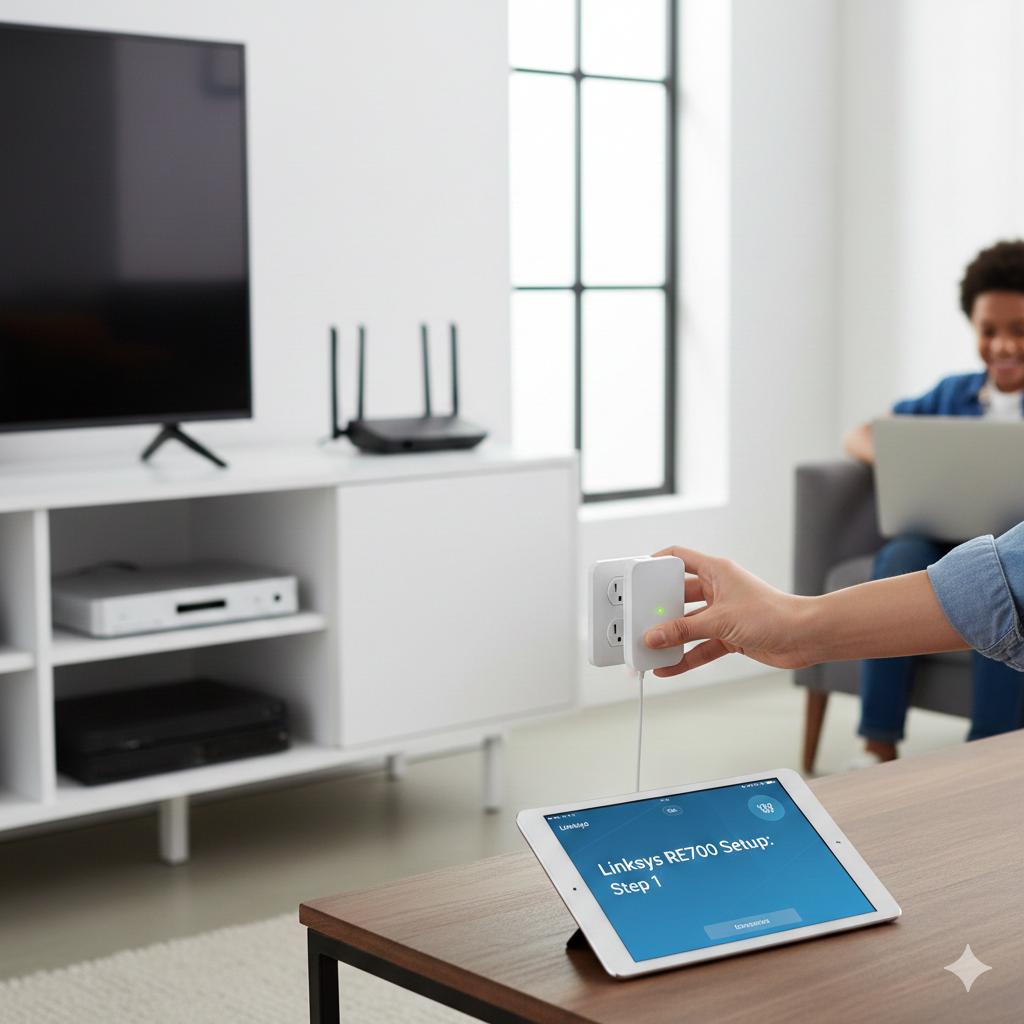
How to Factory Reset and Re-configure Your Linksys RE7000 Extender?
The Linksys RE7000 AC1900 WiFi Range Extender is a potent gadget that may increase wifi coverage in your house or place of business by removing dead zones. However, the extender may occasionally cease functioning correctly as a result of firmware problems, network modifications, or wrong settings. In these situations, most issues can be fixed by […]