Solving Connectivity Problems With Wavlink Extender Setup
Who doesn’t want access to seamless wifi connectivity in every nook of the place be it home or office? Surely, we all require uninterrupted, lag free and lightning fast dependable wifi connectivity for every single second of the day. It’s because of the technical advancement that the world is seeing constantly. Now having a router is not sufficient especially if you have multiple smart gadgets and wider coverage area. For seamless connectivity in such scenarios, you need Wavlink wifi range extender setup. Wavlink offers a vast variety of wifi signal repeaters for both indoor and outdoor areas. So first let’s understand what wifi range extender is and how it works.
On this page
Table of Contents
On this page
Table of Contents
Basically, the gadget is self explanatory. It is a device that extends the reach of your existing wifi signals. The range extender works by attaching itself to the router. Then it picks up its signals, multiplies these signals into multiple numbers and then it uniformly broadcasts these signals into different directions. Thus there is effective eradication of dead zones, the existing signals become stronger and there is lightning fast connectivity for multiple devices. To grab this benefit, you must learn about the installation steps. So without further delay, check out the below written Wavlink wifi range extender setup steps.
Checklist For Setup
For installation of the Wavlink range extender, you need all these components:
- Wavlink extender and its power adapter.
- Router that is actively working.
- Details of the network whose reach you want to extend.
- An Ethernet wire (optional).
- A smart device. It can be anything from iPad to laptop.
- Thereafter, access to a well updated web browser is a must.
- Then you need access to a vacant power board.
- Lastly, keep the Wavlink wifi range extender setup manual by your side.
Note: If you have an extender other than Wavlink, then disconnect it from the router. Thereafter reboot the router. For doing the same, first switch off the power. Next, detach all the wires from its socket. Now wait for a few seconds that is around 50 to 60. Thereafter, plug everything back in. This will allow you to pair the Wavlink extender to the router without any hindrance.
Wavlink Wifi Range Extender Setup
The setup process is easy and thus you wouldn’t require any tech expertise for it and neither the help of any third party. Here’s the step-by-step guidance:
- Plot the Wavlink range extender in an area which is closer to both the router and the wifi dead spot. Make sure the spot that you picked up for extender’s placement is receiving not less than 50 percent signals from the router. Because communication between the router and the extender is crucial for a successful Wavlink wifi range extender setup.
- Next up, take the power wire. With its help activate the extender. The extender won’t be available for further configuration immediately. As it needs a few moments for finishing its booting process. So make sure before you proceed further, the power indicator of the Wavlink extender is all steady.
- Thereafter, pick your smart gadget. Go to its settings. Activate wifi. Now join the network -Wavlink_XXXX.
- Require an alternative to the above written step? If yes, then pick an Ethernet wire. With its help, pair the smart device to the extender directly.
Comments
0 comments
No comments yet. Be the first to comment.
Related Articles
Feb 9, 2026
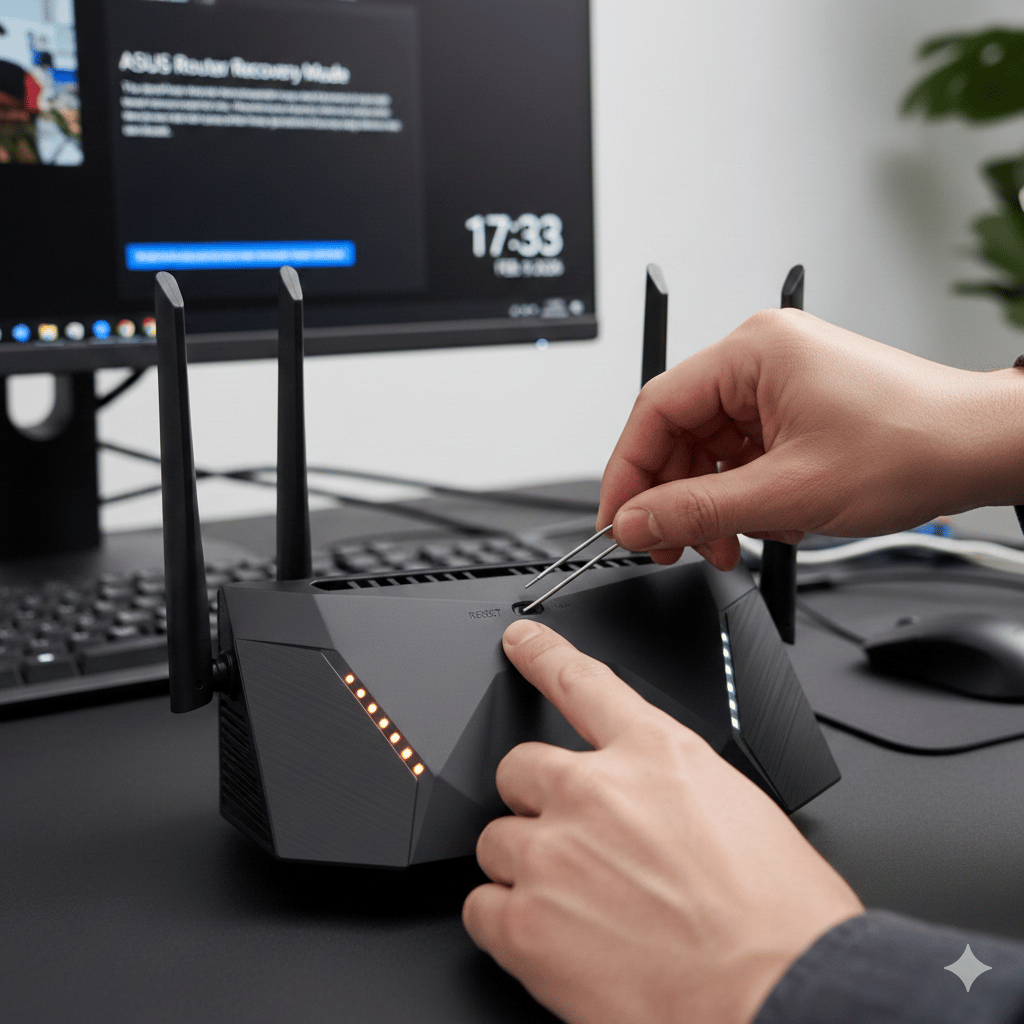
How To Reset The Asus Router?
Resetting your Asus router may frequently fix issues including inconsistent internet connections, lost Wi-Fi passwords, and unexpected router behavior. Understanding how to properly reset Asus router is crucial, whether you’re troubleshooting network problems or getting the router ready for resale. Everything you need to know about resetting an Asus router will be covered in this […]
Jan 7, 2026
How to Factory Reset and Re-configure Your Linksys RE7000 Extender?
The Linksys RE7000 AC1900 WiFi Range Extender is a potent gadget that may increase wifi coverage in your house or place of business by removing dead zones. However, the extender may occasionally cease functioning correctly as a result of firmware problems, network modifications, or wrong settings. In these situations, most issues can be fixed by […]